Empowering Payment Connectivity Globally
Stablecoin. Bitcoin. Fiat. Hundreds of currencies, one API platform to move your money around the world

Services
NOAH's Payment Infrastructure
Global Payments
Your business can accept payments from global jurisdictions including Europe, Latin America, Africa and Asia.
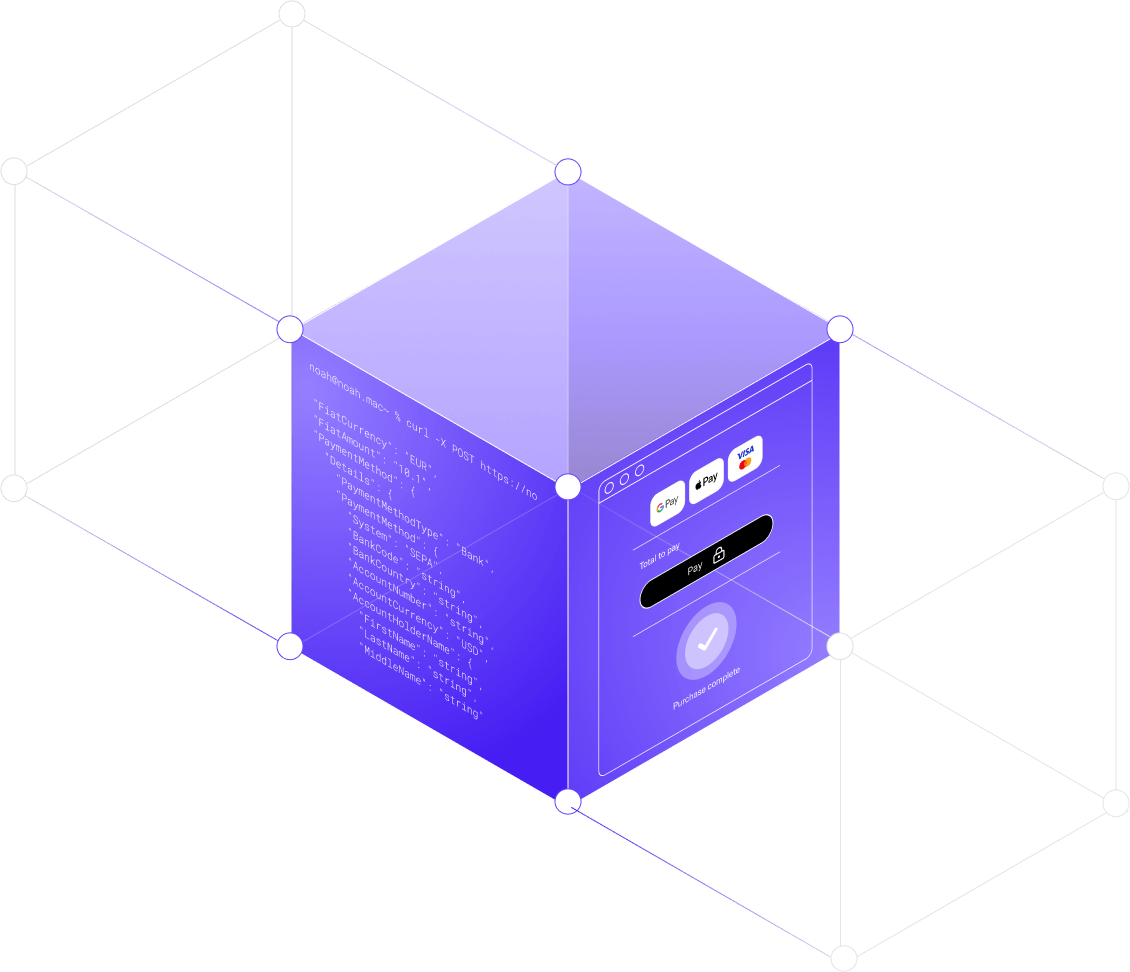
Simplify Stablecoin Payments
Convert multiple currencies into stablecoins with NOAH. Experience fast, 24/7 transactions and seamless reconciliation for greater efficiency.
Streamlined KYC Share
Noah securely receives your client’s KYC data via API, streamlining onboarding and ensuring regulatory compliance while maintaining data integrity.
Payments Methods
NOAH offers a wide range of payment options, including VISA, Mastercard, Apple Pay, Google Pay, and bank transfers, across 100+ currencies and global jurisdictions.
Compliance and Security
Our end to end anti-money laundering (AML) and transaction monitoring measures meet best practices and protect against fraud across our payment ecosystem.
Streamlined Interface
Leverage NOAH’s intuitive interface designed to maximize payment efficiency and enable seamless crypto transactions.
Products
Choose Your Solution
All-in-one solution for accepting, sending, and converting crypto and fiat payments across multiple methods and global networks.
Global Payout Solutions
NOAH’s Global Payout Solution offers fast, flexible payouts across 100+ countries, with multiple payout methods per jurisdiction. With new channels and payout methods going live monthly, one integration ensures that any future channels added will be available without additional workload.
On-Ramp Solution
NOAH's On-Ramp Solution enables seamless EUR and USD deposits and instant conversion to digital assets. Businesses and consumers can access fast, secure, and compliant transactions with global reach.
Stablecoin Settlements
NOAH simplifies cross-border payments by enabling acquirers and PSPs to settle in stablecoins quickly and securely. With same-day settlements, dedicated IBANs, and full transaction visibility, our solution removes complexities while enhancing merchant operations.
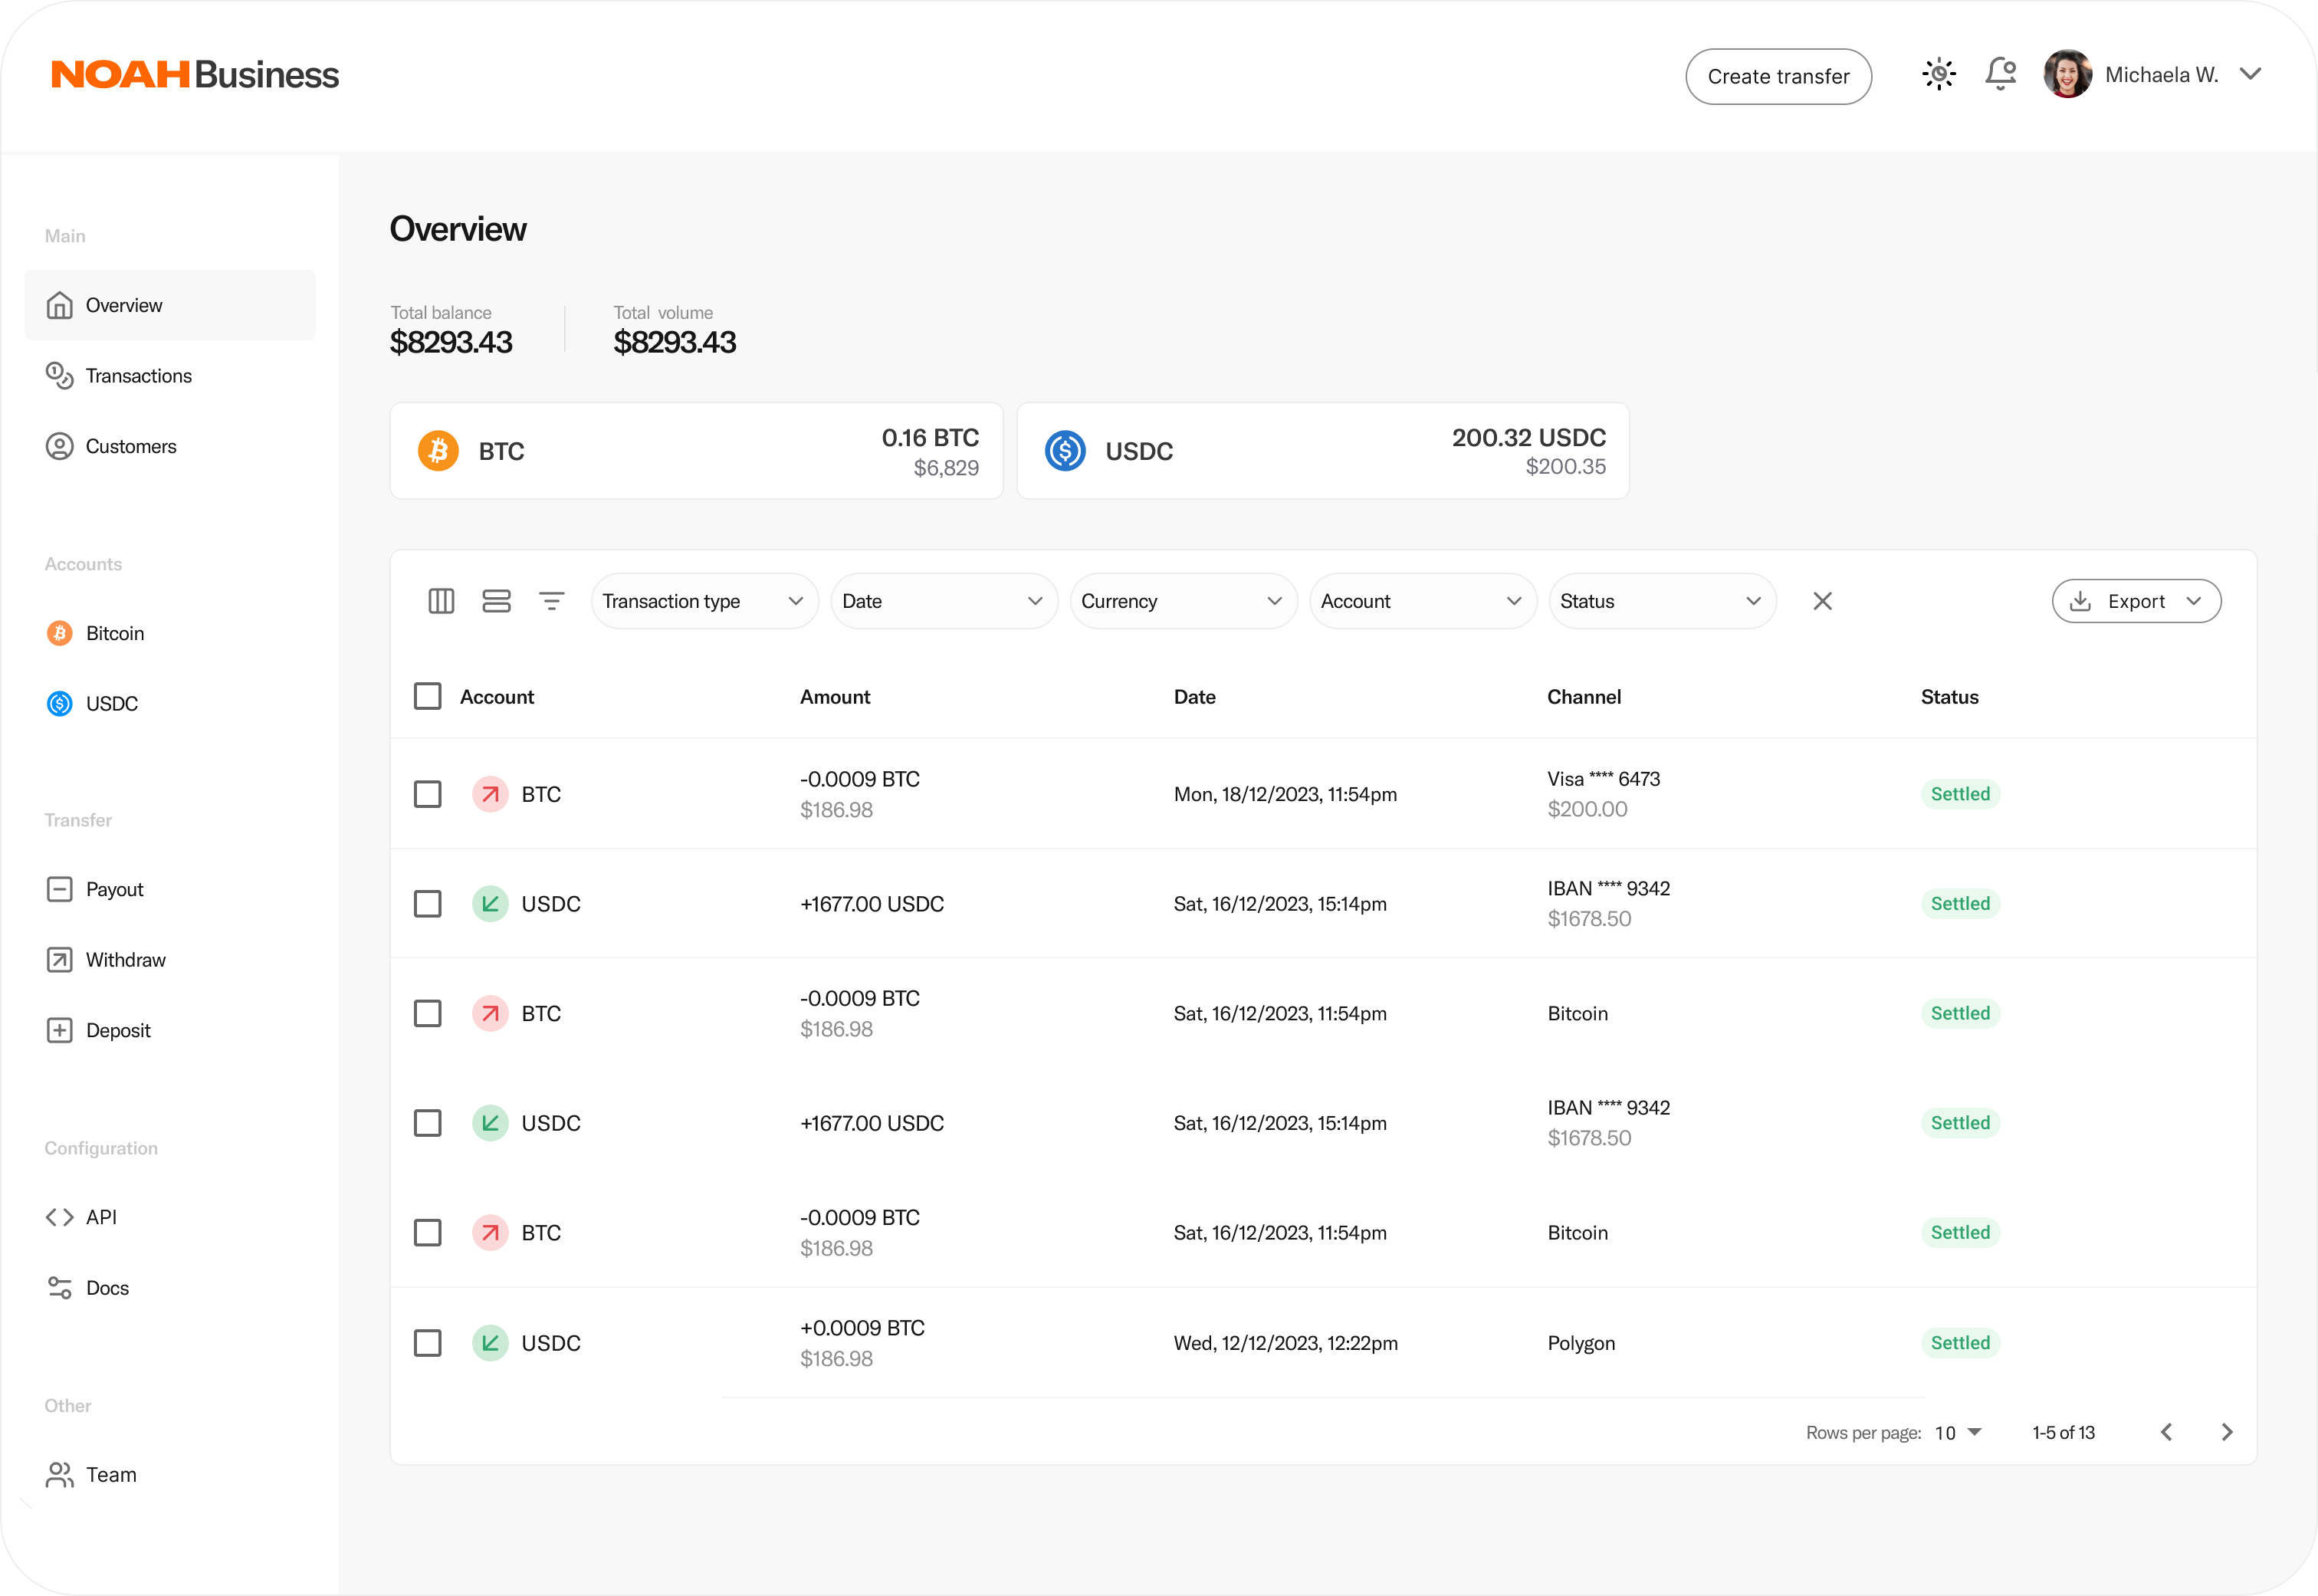
Business Dashboard
NOAH’s Business Dashboard simplifies the on- and offramp process with an intuitive interface, consolidating all your B2B payments and providing an easy way to manage accounts, transactions, and customer interactions.
NOAH's Edge Over Traditional Banking

Expanding Global Payment Networks
NOAH is continually expanding its banking network, building on legacy systems to facilitate seamless payments across both major and exotic markets. We interconnect businesses and consumers globally, enabling limitless transactions.

On and Off Ramp Capabilities
By seamlessly integrating modern rails with top-tier traditional financial services we enable you to expedite cross-border transactions, streamline B2B payments, and hassle-free treasury operations, across +60 currencies globally.

Pricing and Speed
We leverage digital assets, especially stablecoins, to accelerate payments speed, lower fees, and avoid delays inherent in traditional systems. Enabling rapid liquidity flow in and out of global markets and ensuring reliable settlement within 24 hours.
Global Payout Solution
NOAH partners with established licensed banking partners to provide a robust API Off-Ramp solution. This solution facilitates instant secure payment disbursement to 28 countries (and growing).
Developers
Developer Focused Tools
Our developer tools are designed to provide a seamless experience for integrating NOAH’s services into any application. With comprehensive APIs, clear documentation, and quick-start guides, developers can easily set up and optimize solutions across multiple environments.

Robust Payment Infrastructure
NOAH offers a Business API for seamless payment integration in various currencies, including Bitcoin and stablecoins. The API ensures efficient and secure transactions, catering to diverse business needs.

Secure & Efficient API Authentication
The NOAH Business API uses secure authentication with API keys managed through the NOAH Business Dashboard. This ensures safe API requests, benefiting developers handling financial operations securely. API keys are accessible only at creation, highlighting the need for secure storage, crucial for managing sensitive data.

Comprehensive Documentation & Support
NOAH provides thorough developer documentation with a Quick Start guide and detailed API references. It includes instructions on generating API keys, subscribing to webhooks, and creating transactions, aiding in a seamless onboarding and integration process.
Support
Frequently Asked Questions
If you can't find the answer you need, please contact us; we're here to help.
What is NOAH?
What is NOAH?
NOAH uses modern payment rails to provide seamless and borderless payment solutions for businesses and individuals. Our main products include:
- Liquidity Provider: Convert fiat into stablecoins.
- Card Acceptance Solution: A global solution for accepting card payments.
- Global Payout Solution: Receive first-party and third-party payments worldwide.
Find out more about these solutions on our website.
What is NOAH’s mission?
What is NOAH’s mission?
What industries does NOAH serve?
What industries does NOAH serve?
Where is NOAH available?
Where is NOAH available?
Who is the NOAH team?
Who is the NOAH team?
What currencies are supported by NOAH?
What currencies are supported by NOAH?
Which networks are supported?
Which networks are supported?
How fast are transaction processing times?
How fast are transaction processing times?
How do I get started with NOAH?
How do I get started with NOAH?
To get started, visit our website and sign up for an account. Our team will guide you through the onboarding process, providing all the necessary resources to integrate NOAH’s solutions into your business.